The thing I love about photography is it’s endless way at making new creative paths. I first found DIY bokeh photography through my friend who goes by the name Kay.Vee (check out her awesome photostream here) when she first published this:
I know. LOL.
So with some helpful guidance from her to DIYPhotography.net, I began making my own cut out shapes, and here’s how I went about it.
First up, you’ll need black cardboard. The darker the cardboard is best, to reduce the amount of light entering into the lens to help produce a sharper shape in the end. If you want to start this now, but don’t have cardboard, you can also use construction paper. It’s not as sturdy, but it does the job.
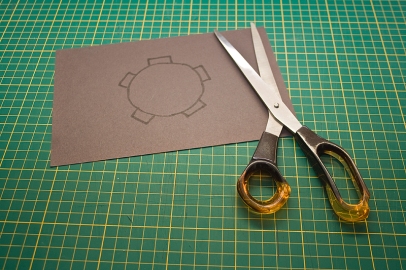
Trace around your lens. Essentially, bokeh works best when you use a lens with a large aperture as mentioned in a previous post. In my example, I’m using a Canon 50mm f/1.8 prime lens. If you’re finding tracing fiddly, and you’re using the same lens as me, try using a compass with a radius of about 3.5cm.
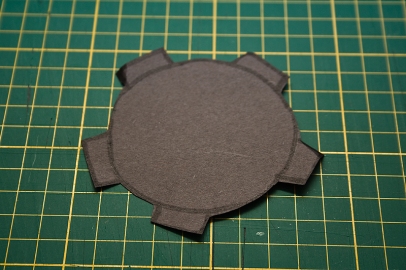
After tracing the lens, make little tabs around the circle. I’ve used 5, you can put in how ever many you like. These tabs will be used in later steps. They don’t have to be perfect either.
Cut out the circumference of the lens with the tabs attached, and you’re ready to start on a shape. It can be any shape you want (provided you can cut it out!), and the best size is a shape around 15mm. Decorative hole punchers are perfect, and can be found at any craft/scrapbooking store.
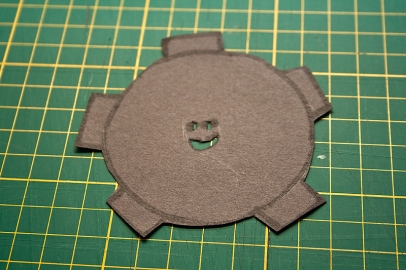
Try and get your shape in the centre as much as possible. I’m a little to the left here, but it’s not too late to readjust. Just have to redraw the shape prior to cutting.
Use a scalpel to cut out your shape, working slowly as to not tear the material. Keeping one fluid motion is best I have found, to prevent jagged edges appearing in your final shape
Yay! So that’s the shape bit done, but you’ll need to make a base for the shape so it can fit snuggly on your lens. I’ve cut out some more cardboard (construction paper will also do) with a size of 4cm x 22cm. Measure the length and circumference of your lens to ensure a nice fit. I’ve got a cylinder that is an identical size to my lens to help me with the following steps. You don’t need one, but I found it easier to use.
Use some sticky-tape to keep it together.
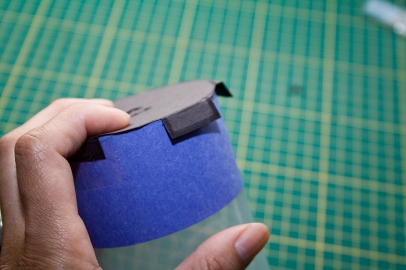
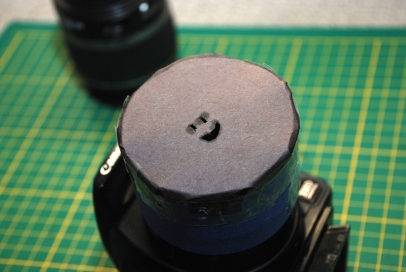
Fold the tabs and place the shape on top of the newly made ring. Use sticky tape to adhere the shape to the ring, and if you have any overhang, just tape that down too!
Finally, you’re done! Place your newly created bokeh tube over your lens and start testing it out!
Now this is the fun part! Start shooting. I like to place something in the foreground within the shallow depth of field, but as long as the lights in the background are blurred, you’re doing bokeh! (Boh-kay?)
Here’s a snap from this shape:
Hope this has been helpful! If you’ve created your own, post up your shot in the comments!
=]
Paula
Filed under: DIY, bokeh, craft, creating bokeh shapes, DIY, do it yourself, patterns, Paula Lay, photography, web206


